Sanding and refinishing are essential steps in enhancing and preparing wood floors and other surfaces. Whether you are refinishing hardwood floors, furniture or cabinetry, investing in the right sanding tools and finishing options will ensure that your final product looks stunning and stands the test of time.
The Importance of Proper Sanding
Sanding a surface involves removing unevenness, imperfections and scratches using a series of progressively finer grit sandpapers or abrasive materials. You can use a handheld sander, floor sander or orbital sander, depending on the size and type of surface you are working on. Using the right tools in this process is essential, as proper sanding is vital in achieving a flawless final result.
Sanding creates a roughened surface that helps the finish adhere to the hardwood. With the right technique, your hardwood surface will not flake, chip or peel over time. It also opens up the wood’s pores, allowing stains and the finish to penetrate the wood fibers for a stronger bond and better damage protection.
Preparation Tips When Using Wood Sanding Abrasives
Preparing the surface starts before sanding and helps to ensure professional-quality results when sanding a hardwood floor or other surface. Key tips to follow in preparing a wooden surface for sanding and finishing include:
- Inspection: Look for any imperfections in the wood, like gouges, scratches and dents.
- Cleaning: It is essential to clean the surface thoroughly, removing dust, debris and residue from the sanding process. This step will ensure that the finishing materials can stick to the hardwood properly.
- Damage repair: After removing existing adhesives, contaminants and finishes, repair cracks, gaps and other imperfections with wood filler. Allow sufficient drying time before you start sanding.
- Protect your surroundings: Protect surrounding areas with drop cloths, masking tape or plastic sheeting. This helps to shield other surfaces from dust, debris and potential damage while minimizing cleanup efforts after sanding.
- Plan to work in sections: Divide the surface into manageable sections and sand one section at a time, working systematically from one end to the other to achieve an even surface.
- Keep it clean: Keep the surface clean by periodically removing dust and debris with a vacuum, compressed air or tack cloth.
Floor Sanding Techniques
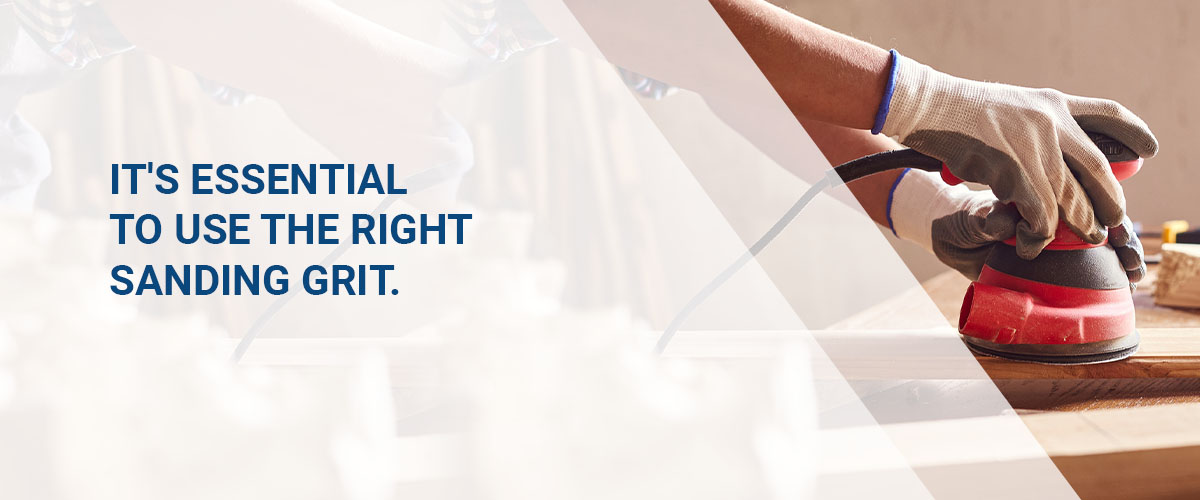
It’s essential to use the right sanding grit. Start sanding with a coarse grit to remove surface imperfections, then gradually work your way up with finer grits for a smoother finish. There are several techniques you can use, often in conjunction with each other, to achieve a smooth, durable and alluring finish.
Rough Sanding
The initial step in hardwood surface preparation is to remove old finishes and imperfections using a rough sanding technique. Use a belt sander or floor sander with coarse-grit sandpaper, around 36 to 60 grit, to eliminate old surface coatings and existing flaws.
Start sanding in the direction of the wood grain, moving steadily and evenly across the surface. Avoid lingering in one area, as this can cause uneven sanding. Instead, make multiple passes until the surface is uniformly smooth.
Intermediate Sanding
Intermediate sanding refines the surface to smooth out rough spots or scratches further. Here, you need to switch the sandpaper to 80 or 100 grit and repeat the sanding process. While it is important to be thorough, remember to be gentle to avoid creating uneven patches from over-sanding.
Finish Sanding
When the bulk of the uneven surface is smooth, you use finish sanding to prepare the wood surface for stains or finishes. This step creates a smooth, uniform texture by using 120- to 150-grit sandpaper and light pressure with smooth, overlapping passes. Focus on gently working toward a consistent finish, paying attention to corners and edges for uniformity.
Finishing Options
The final step in the process is to apply the protective finish that will boost the hardwood’s appearance, durability and wear resistance. For a smooth hardwood floor finish, vacuum the entire surface, ensuring there is no dust or debris. Finishes can be oil-based, water-based or solvent-based, applied with a brush, sprayer or roller:
Oil-Based
These finishes are durable and moisture-resistant but have more potent odors than other finishing options. Oil-based finishes typically consist of natural oils like linseed or tung oil combined with solvents or drying agents.
- Characteristics: Oil-based finishes penetrate wood fibers to enhance the natural grain and color of the wood. The result is a warm, rich appearance in matte or satin sheen.
- Application: It’s easy to apply an oil-based finish with a cloth, brush or roller.
- Drying time: These finishes have a longer drying time, ranging between eight and 24 hours between coats.
Water Based
Water-based finishes consist of synthetic resins and water. They have high scratch resistance and are eco-friendly as they contain minimal volatile organic compounds. Other noteworthy variables of this finishing include:
- Characteristics: These finishes are transparent, highlighting the wood’s natural coloring and burls without altering its color. They come in various sheens, like matte and glossy.
- Application: Water-based finishes can be applied with a brush, roller or sprayer, requiring minimal cleanup and preparation thanks to their water-soluble properties.
- Drying time: These finishes are typically dry to the touch within two hours and ready for their next coat within four hours.
Polyurethane
Polyurethane is a synthetic coating that forms a protective film on the wood surface due to its polymer base. This coating does well in humid atmospheres along with the following considerations:
- Characteristics: These finishes are exceptionally resistant to moisture, abrasion and chemicals available in a satin, matte or glossy sheen. They work well in high-traffic areas and commercial applications.
- Application: You can apply these finishes in multiple coats with a brush, roller or sprayer.
- Drying time: Polyurethane finishes have a moderate drying time and are ready for recoating in eight to 12 hours.
Choose High-Quality Abrasives for Hardwood Refinishing
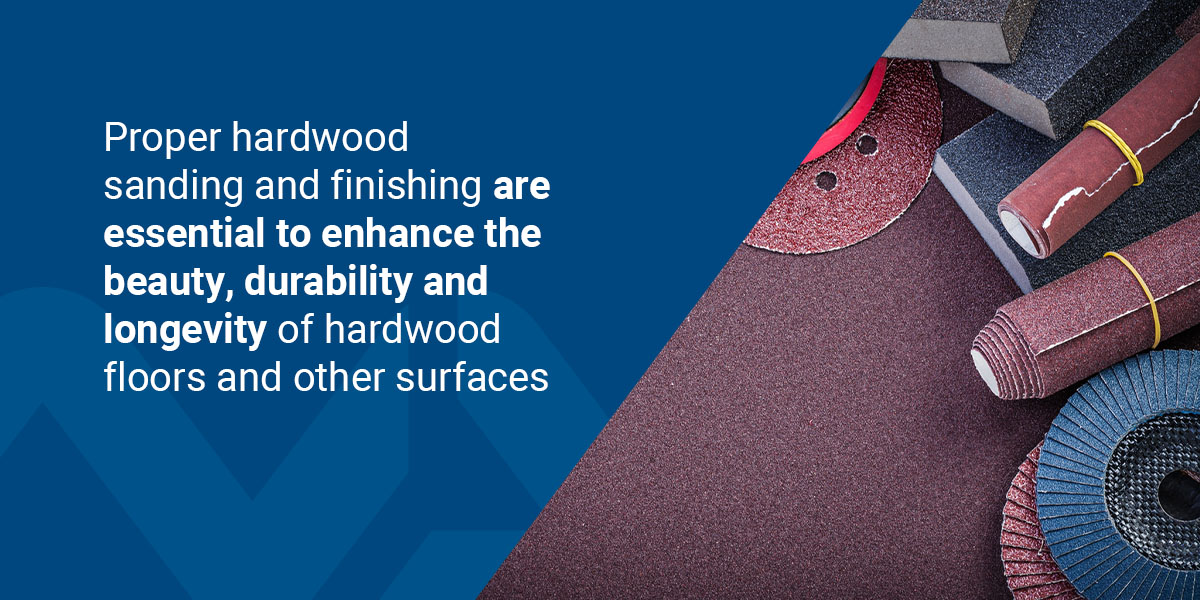
Proper hardwood sanding and finishing are essential to enhance the beauty, durability and longevity of hardwood floors and other surfaces. With the proper techniques, these processes can transform dull or worn-out wood into aesthetically pleasing, long-lasting features of any interior space.
National Abrasives, Inc. is here to help you complete your most tedious projects with a range of abrasive products and materials, including high-quality sanding abrasives. We stock supplies from a variety of well-known industry brands, giving you total access to the tools you need to get the job done. Everything we stock is priced competitively, and we offer exceptional customer service to assist you in your selection.
We offer special bulk pricing for large projects and quick, free shipping, so you can get what you need fast. Shop our selection today to find the perfect products for your next refinishing job.